Webinar Equipment & Setup
Webinars have become a cornerstone of modern marketing and education, offering a powerful way to connect with audiences, share expertise, and drive conversions. But let’s be honest: no matter how great your content is, if your webinar setup looks like it was filmed in a dimly lit basement, you’re going to lose credibility fast. That’s why getting your webinar equipment and setup right is essential. Whether you’re a seasoned pro or a beginner, this guide will walk you through everything you need to create professional, high-quality webinars that engage and convert.
Why Your Webinar Setup Matters
Ever watched a webinar where the audio was crackling, the video was pixelated, or the presenter was backlit like a shadowy figure? It’s frustrating, right? (I’ve been there myself—both as an attendee and, sadly, as a presenter who hadn’t quite nailed the setup yet.) Your webinar equipment and setup are the foundation of your presentation. They directly impact how your audience perceives you and your message. A polished setup builds trust, keeps viewers engaged, and ultimately drives better results.
The Essential Webinar Equipment Checklist
1. The Right Camera
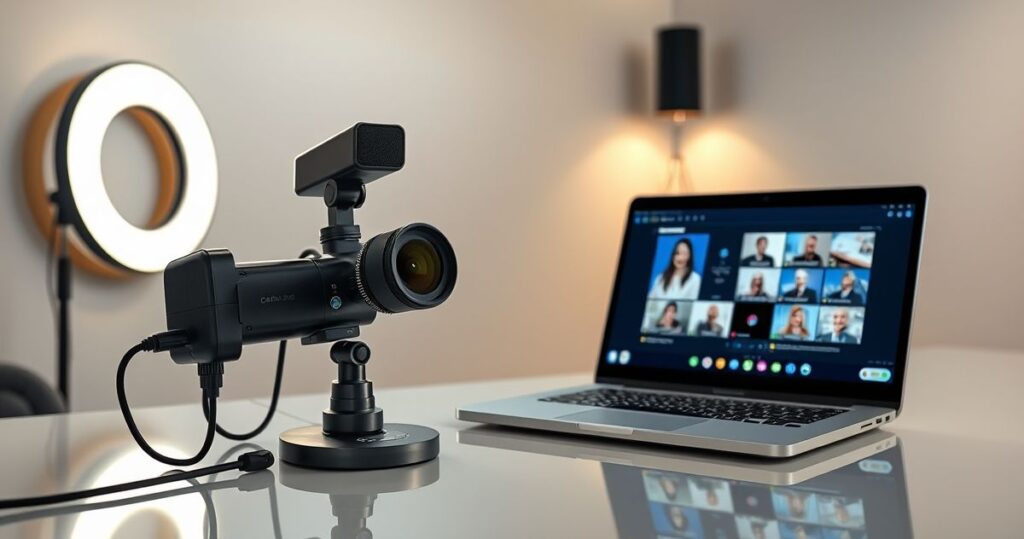
Your camera is your audience’s window into your world. While most laptops come with built-in webcams, they often leave much to be desired in terms of quality. Investing in a dedicated external webcam or DSLR camera can make a world of difference.
- Budget Option: Logitech C920 (sharp and reliable)
- Upgrade Option: Canon EOS M50 (crisp and professional)
- Pro Tip: Position your camera at eye level for a natural, flattering angle.
2. Crystal-Clear Audio
Poor audio is the #1 reason people drop out of webinars. Don’t let a crackling microphone ruin your presentation.
- Budget Option: Blue Yeti Nano (great sound quality for the price)
- Upgrade Option: Shure SM7B (industry standard for podcasters and presenters)
- Pro Tip: Use a pop filter and position your mic 6-8 inches from your mouth for clear, distortion-free sound.
3. Proper Lighting
Good lighting can transform your video quality instantly. Natural light is great, but it’s not always reliable.
- Budget Option: Ring light (affordable and effective)
- Upgrade Option: Softbox lighting kit (even, professional lighting)
- Pro Tip: Use the “3-point lighting” technique—key light in front, fill light to the side, and backlight behind you to eliminate shadows.
4. Reliable Internet Connection
A shaky internet connection can derail your webinar faster than you can say “buffering.”
- Pro Tip: Use a wired Ethernet connection instead of Wi-Fi for stability. If that’s not possible, ensure you’re on a 5GHz network.
5. Webinar Software
Your software is the backbone of your webinar. It’s where you’ll manage registrations, host the event, and engage with your audience.
- Popular Options: Zoom, Webex, or dedicated platforms like WebinarJam or Demio.
- Pro Tip: Test your software thoroughly before going live. Check features like screen sharing, Q&A, and polls.
Setting Up Your Webinar Space
Now, let’s talk about your physical environment. Your setup space plays a huge role in how professional your webinar appears.
1. Choose a Clean, Quiet Background
A cluttered or distracting background can pull focus from your message. Use a simple backdrop or a tidy, professional-looking space. (I once hosted a webinar with a pile of laundry in the background—lesson learned!)
2. Minimize Distractions
Turn off notifications, silence your phone, and let others in your space know you’re presenting. Even a barking dog in the background can derail your flow.
3. Test Your Tech
Run a full tech check before going live. Test your camera, microphone, lighting, and internet connection. Better yet, do a practice run with a colleague or friend to catch any potential issues.
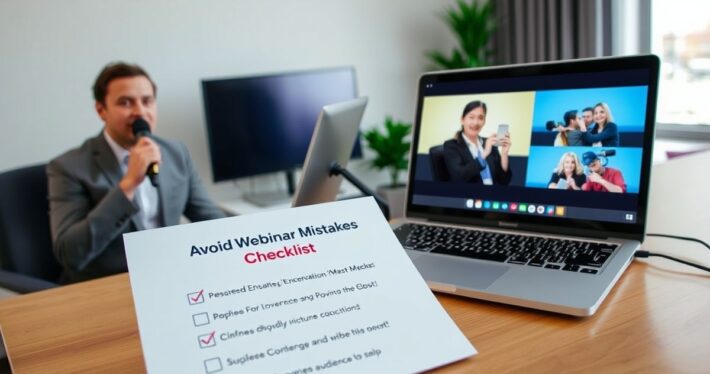
Real-World Example: From Amateur to Pro
Let me share a quick story. A client of mine, Sarah, was struggling to get engagement during her webinars. Despite her expertise, her setup was holding her back—a grainy webcam, poor lighting, and a tinny microphone. We upgraded her equipment (starting with a Logitech C920 and a ring light) and worked on her setup. The result? Her registration rates doubled, and attendees stayed engaged for the entire session. It’s amazing what a few tweaks can do!
Advanced Tips for Professional Webinars
1. Use a Teleprompter
If you’re nervous about remembering your script, a teleprompter can be a game-changer. Apps like PromptSmart or hardware teleprompters can help you stay on track without sounding robotic.
2. Incorporate Green Screens
Want to really elevate your production? Use a green screen to replace your background with custom visuals or branding. Software like OBS Studio makes it easy to integrate.
3. Engage with Your Audience
Use polls, Q&A sessions, and live chat to keep your audience engaged. Tools like Slido or the built-in features in your webinar software can make this seamless.
Common Challenges and How to Overcome Them
1. Budget Constraints
Not everyone can afford top-tier equipment right away. Start with the basics and gradually upgrade. A decent webcam, microphone, and lighting can go a long way.
2. Tech Glitches
Always have a backup plan. If your software crashes, know how to restart quickly. If your internet fails, have a mobile hotspot ready.
3. Nervousness
It’s natural to feel nervous. Practice makes perfect—do a few dry runs to build confidence.
Final Thoughts
Your webinar equipment and setup are the unsung heroes of your presentation. They may not be the most exciting part of the process, but they’re absolutely essential for creating a professional, engaging experience. By investing in the right tools and dedicating time to perfecting your setup, you’ll set yourself up for success every time. So, what are you waiting for? Get your gear, test your setup, and start hosting webinars that wow your audience.